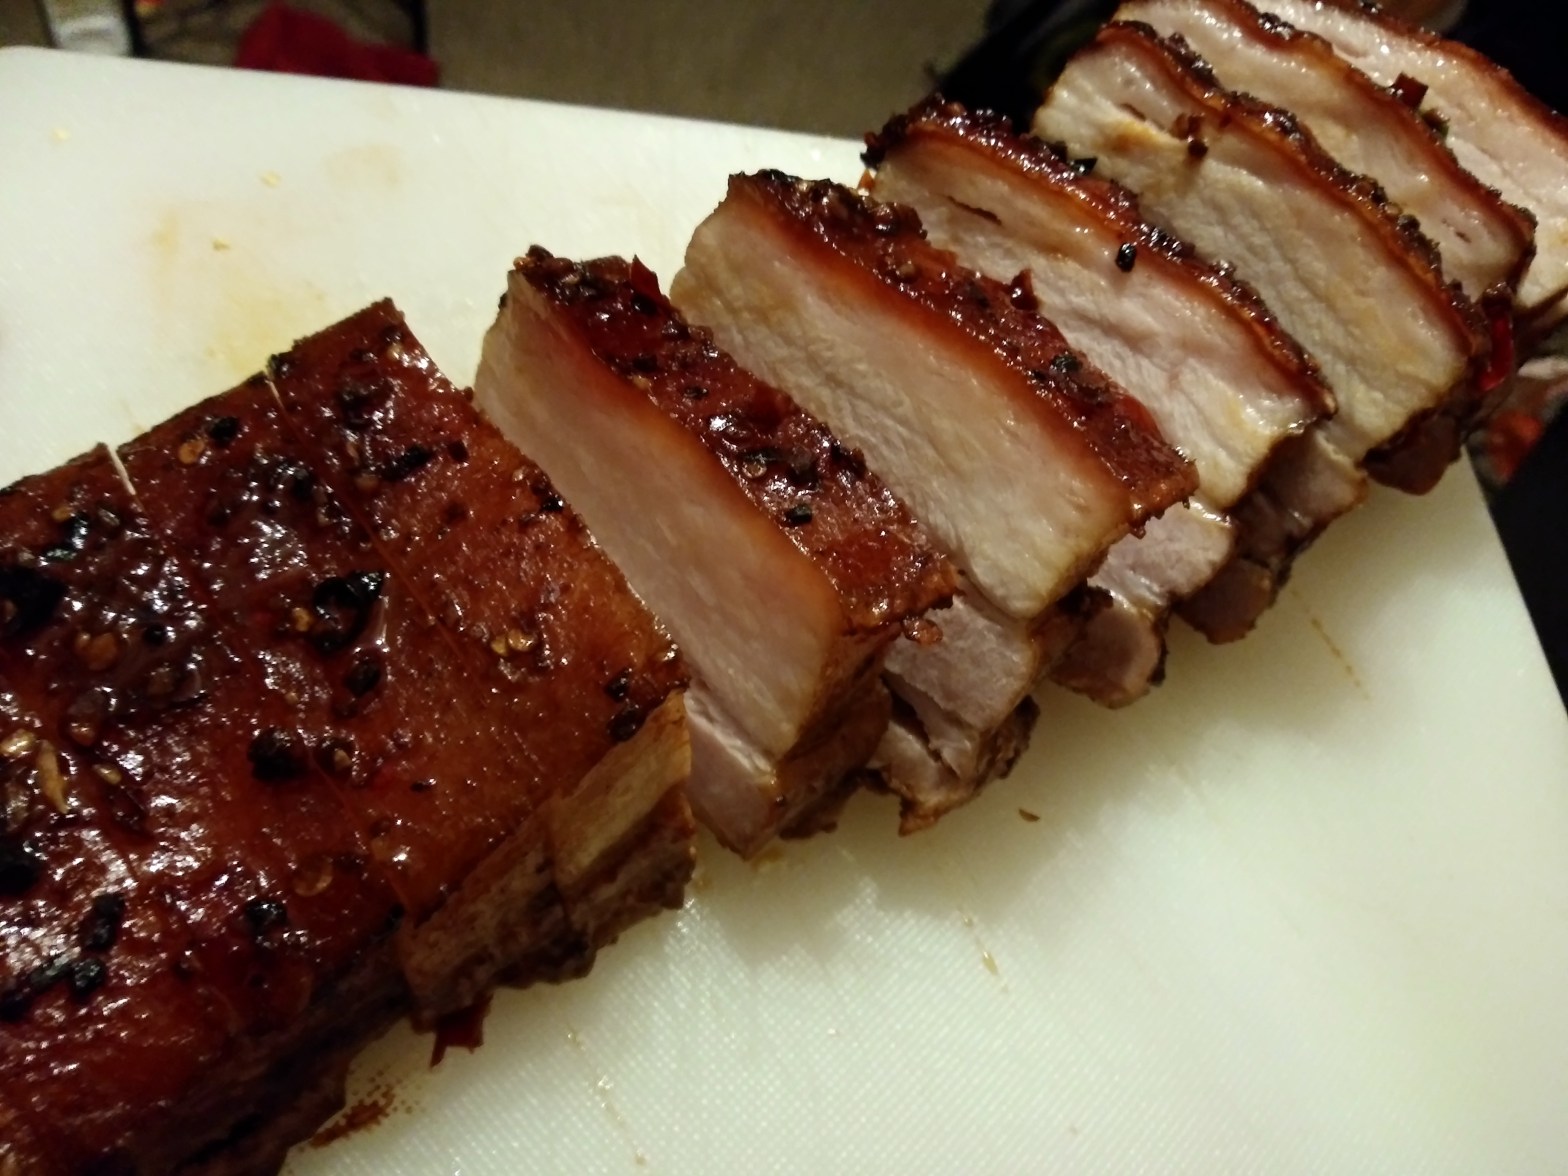
It’s fatty. It’s meaty. It’s soft. It’s delicious.
And if you’re not careful, you’ll eat a lot of it in one sitting.
If you want to do this right, it’s going to take a couple days’ worth of prep time, which is why this is one of the more complex recipes that I make. This prep time involves a hefty amount of salt and then another day inside a marinade, so if you’re prone to procrastinating or just really busy for two days before you can cook it, the full prep will work well for you. It’s not mandatory to do this, but the meat does come out softer and the skin crispier.
I also have a habit of topping it with a thai chili sauce (“ma ploy” brand from your local supermarket or international market if you have one) which is this tangy and sweet and a little spicy and is absolutely addictive.
What you’ll need:
Pork belly, unsalted and uncured
Coarse salt
Soy sauce
Mirin or rice wine
Ground ginger (or fresh sliced)
Crushed red pepper (or fresh peppers, like thai chili, jalapeno, serrano)
Pepper
Thai chili sauce (optional)
Garlic
Sesame oil
High-heat oil
Day 1:
Take the pork belly out of its wrapping, and coat in a generous amount of coarse salt, paying particular attention to salt the skin. Store in a sealed container, skin side up. The salt is going to bring out the moisture from the pork belly, drying out the skin and reducing some of the liquid inside the meat. If you do this step, you’ll see liquid form in the bottom of the container over the next day that’ll be drained before cooking.
Day 2:
Making the marinade today. Now I like to let it sit overnight kind of deal, which is why I have this sectioned off as “day 2”. Your goal is to not fill up the container of marinade, but maybe up to an inch into the container. Use similar ratios of soy sauce to mirin (or rice wine). About a tsp of sesame oil, and then the rest of the dry ingredients. I like a lot of ginger, so I’ve used up to an inch of fresh ginger or a whole tablespoon of ground. Garlic isn’t something I measure with a tool but I measure that with my heart. I also like having a little spice in my marinade, as the pork will absorb it. This marinade will also be what we cook it in eventually, so use as much spice as your little heart desires. Then put the pork back into a container, skin side up.
Day 3:
We cook!
(Unless you just skipped to this step, in which case, prep your marinade described above in day 2 and put it into a baking dish. We’re cooking in that sauce.)
Get yourself a pan nice and hot on the stove, with a couple of tablespoons of the high heat oil in it. We’re going to sear and brown the skin of the pork belly, which crispens it for cooking. This process takes a little bit, but when it’s done the skin will feel very hard and browned. Put the pork into a oven-safe dish skin-side-up and put the remainder of the marinade back in. Put in enough water to get close to the skin of the pork. Cover in aluminum foil and bake at 400F for about 2 hours (depending on how long your Netflix episodes are!) This is to get the pork up to an internal temperature of 165F.
Then take the foil off, top with the chili sauce if you have it, and bake at 250F for another 2 hours. If you notice your pan is dry, feel free to add some water. The idea is to cook it slowly in a little moisture to soften the meat.
Once it’s cooked, allow it to cool for a while before slicing. This is because the top layer of fat will still be melty, and while that’s delicious, it makes for extremely messy cutting.
I typically don’t use it all at once, and will keep some sliced in the fridge for breakfast in the morning. I’ll fry it up on the sides and brown it before serving, sometimes just by itself as a sort of super thick bacon, or otherwise in soups or as a main dish if I’m having it for lunch or dinner.
